Dragon Age 2 Staff of Parthalan
 This is the staff of Parthalan we made from the game Dragon Age 2. The following illustration is how I made it. We have made 2 today if you see minor variations in the pictures along the way it is because they've been combined from both builds. Sorry if the article jumps around quite besides. The reason behind this can be as things tend to be drying out i might be working on another part. Through the build i really do make use of correct private security such as for instance safety cups and dirt mask if necessary. Please be mindful when working with power resources!
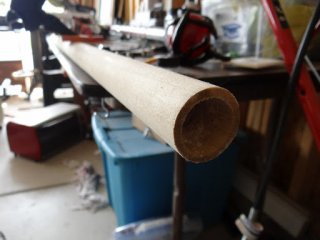
The very first thing we start out with is a 1.5″ by 48″ dowel pole and flattened 6 sides on a single end.
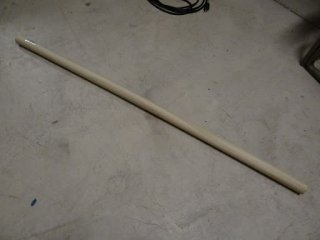
For the opposing or “orb” end I required an approach to take the end on / off easily and hide a light source. In this instance i take advantage of an individual AA LED flashlight that you simply will dsicover later on. I came across a BBQ sauce bottle top worked good.
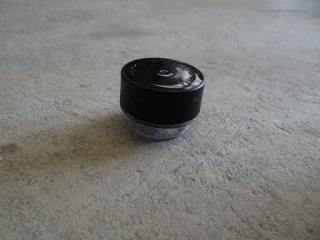
After very carefully using increasingly bigger and larger drill bits, a boring bit, as well as the sanding barrel on my Dremel tool I was prepared connect the utmost effective utilizing Gorilla Glue.

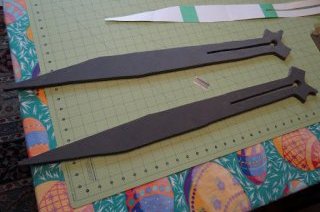
For blade I used 1/2″ thick exercise pad foam. Making use of a paper template we traced a pattern regarding the foam and so I could reduce it out. Always flip the template over for 2 pieces so they really will line up.
To provide the foam knife rigidity I used a couple of steel rods and bent them so they wouldn't normally restrict the split in the center of the blade. We softly spray coated over them during place therefore I would understand where you should notch the foam for the rods to sit in before gluing the two halves together.
After gluing the 2 halves collectively we used various shaped bits in the Dremel device to smooth the sides and produce the notch down the center associated with the blade. To give the knife an edge I really, meticulously used a bench grinder. If you don't performed correcly this will probably cause you to need to begin around.
Returning to the employees. With a combination of several various saws and a sander I developed the warped and used look of the staff.
To produce the look of rivets holding the splits within the lumber together we used a Dremel bit that had an opening in the long run.
Using a wood burning device I included “stress fractures” to the wood, hit it with a hammer and bounced it once or twice on the milling wheel to really make it appear to be it had seen fights.
Now we begin to have a blast. We took an area of 2 x 4 and using a boring little bit and Dremel device to really make the opening big enough, I utilized Gorilla Glue to put and hold the BBQ sauce container top.
Following the glue dried we slashed and sanded to produce a base the orb to be mounted on. I also drilled 4 holes and glued in 4 sections of copper cable to use for the “fingers” associated with base that keeps the orb. The copper adds a bit of power and work-ability while the Apoxysculpt treatments. The orb is constructed of cracked glass and emerged off of a solar powered yard light.
When it comes to hands I used Apoxysculpt. As soon as mixed you've got about 3 hours of working time and this can be genuine great in a few circumstances. It will require about 24 hours to fully cure and it is quite tough a short while later.
Time to deliver the lumber alive. Using stains and paints we provide the staff some color and the aging process. All of the defects we put into the staff deliberately actually begin to stand out right here.
I came across some purple translucent design paint in the pastime shop. This not only provides it a great color but allows the torch to shine through brightly.
Listed here is some of those things in which the pictures are likely to leap back. I desired to demonstrate that We created a notch at the conclusion of the staff when it comes to blade to stay in. I also drilled holes along the staff for the metal support rods we found in the knife to go into. Sorry I do n't have good image of this.
The knife gets coated more than once in Plasti-Dip, primered, then coated.
We’re on the home stretch now. I utilized Gorilla glue to install the knife to the staff. I devised an approach to support the knife positioned even though the glue setup.
Using ribbon from a fabric shop and some manufacturing spray glue we place the bands across the staff that appear on the design into the online game.


Share this article
Related Posts

Latest Posts


